Do you need to create a donation form using WPForms?
A lot of users are looking for similar tutorials on the internet. If you are running a non-profit organization or something related business, probably you might want to accept donations from the community. While using WordPress, everything is pretty simple.
And in this article, we are going to show you how you can create a donation form using WPForms without writing a single line of code!
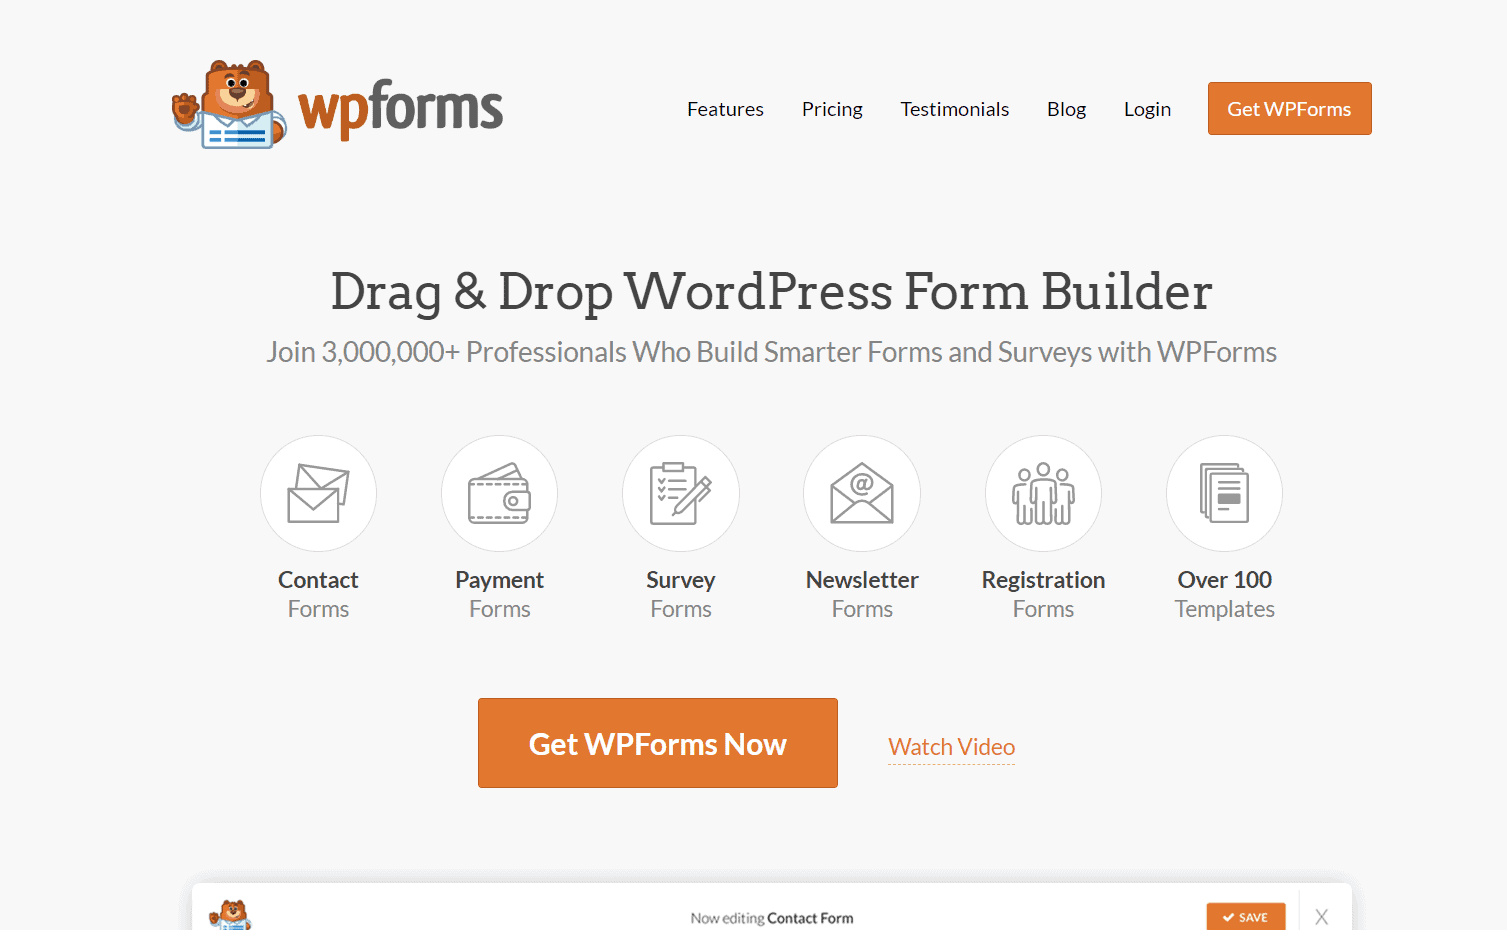
WPForms
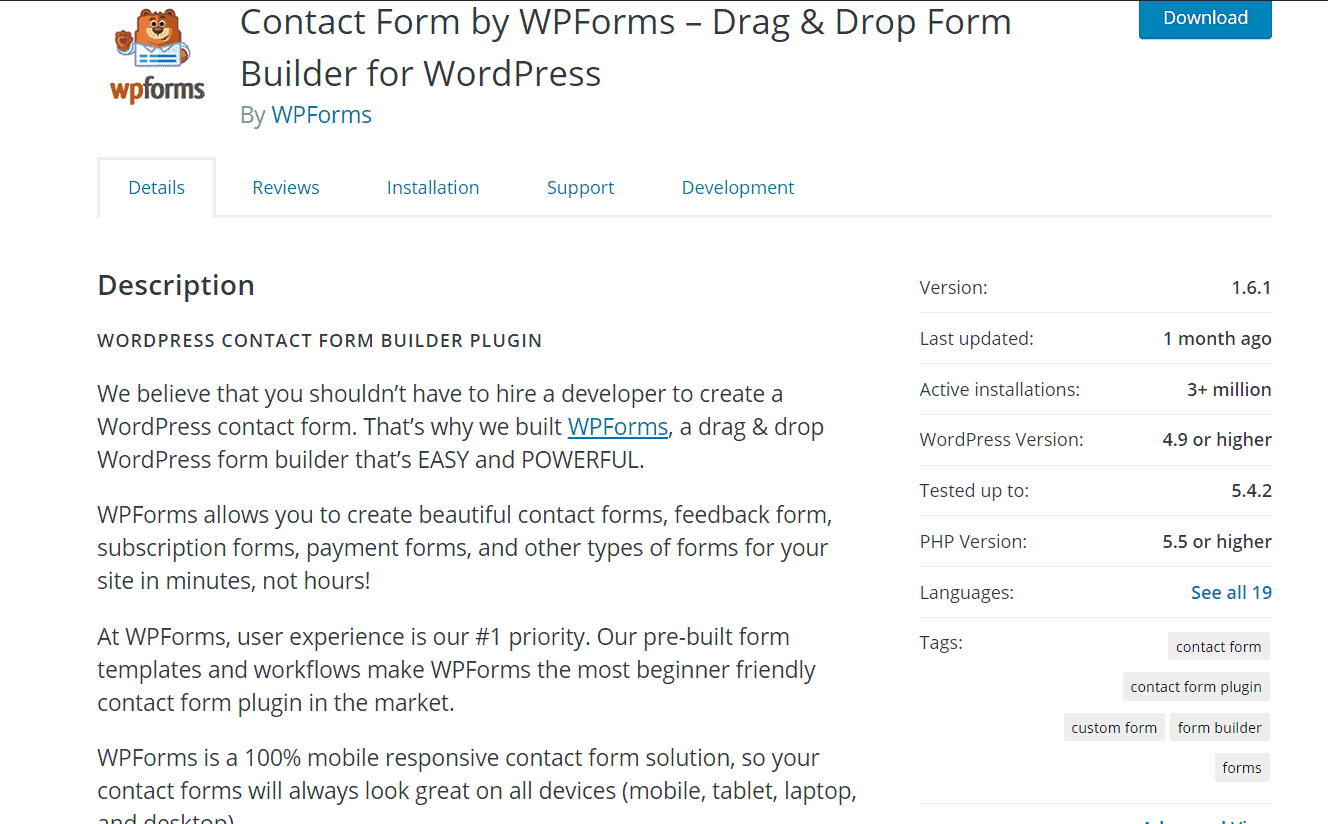
WPForms is a freemium WordPress form builder plugin available in the market. The WPForms Lite can be downloaded from the WordPress plugins repository. Well, for a basic contact form, the free version is best.
As you can see in the above screenshot, the Lite version is installed on more than 3 million WordPress blogs. And the premium version comes with so many awesome and unique features for its users.
We will always recommend the premium version plugin if you are running an online shop or a blog with tons of traffic.
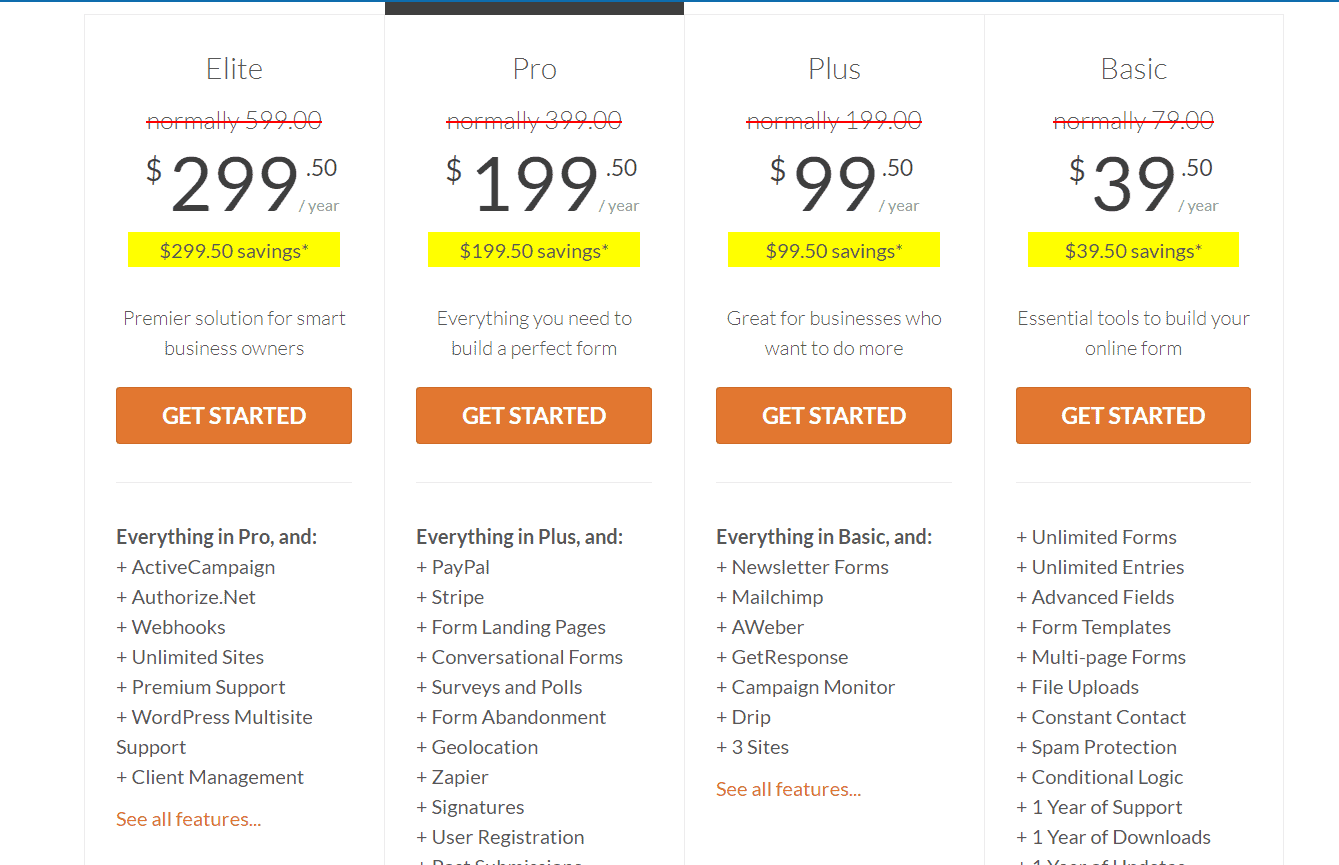
WPForms Pricing
As of August 2020, there are four premium pricing options available.
- Basic – $39.50/ year.
- Plus – $99.50/ year.
- Pro – $199.50/ year.
- Elite – $299.50/ year.
For creating donation forms/ accepting payments, you might want to purchase the Pro or Elite plan. Both plans come with payment gateway integrations. With your PayPal account or Credit Card, you can easily buy the plugin.
This price is a special discount. Well, if you still can’t see the discount, try applying this SAVE50 coupon code at the time of checkout. You will get a flat 50% discount on your purchase.
How To Create a Donation Form Using WPForms?
Now, let’s get into the tutorial.
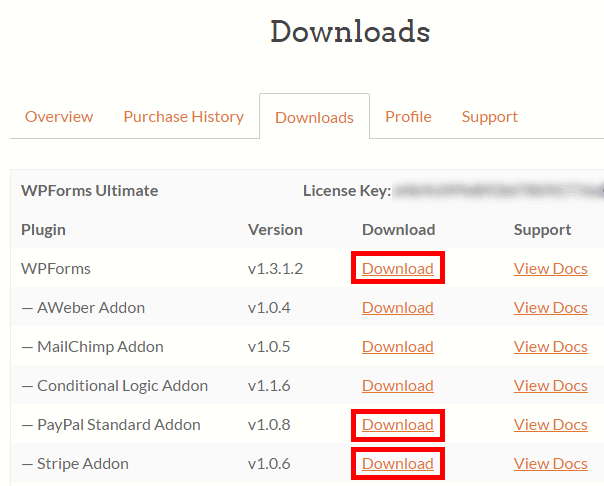
The very first thing you need to do is purchase the premium version of WPForms from their website. As we mentioned earlier, you might want to buy the Pro or Elite plan for accessing their PayPal and Stripe add-ons. Once you have purchased the premium plugin, log in to your WPForms account.
From the dashboard, you will be able to download the premium plugin files and add-ons.
Install the plugin on your blog, verify it with a valid license key. Verifying the key will help you to get access to all their add-ons.
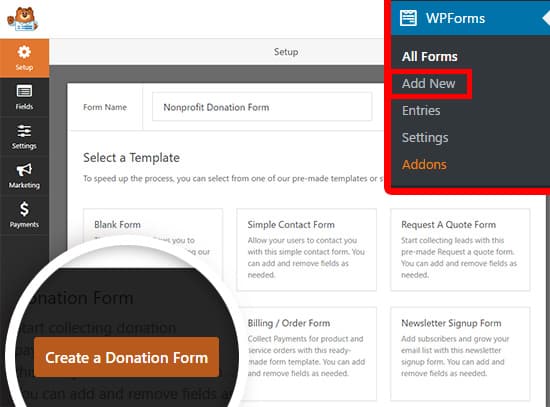
Now, you are ready to create a donation form in your WordPress blog. WPForms comes with a feature called form templates. If you have activated that add-on on your blog, you will get access to their pre-made templates. So while you create a form, you can easily import the pre-made template to your form builder.
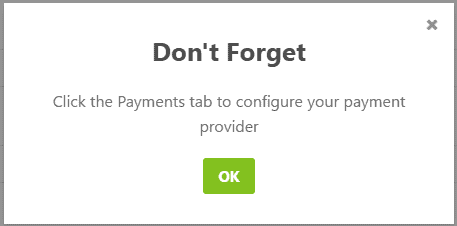
You will need to name your form, choose the donation form template. Since we are accepting payment through the form, we might want to configure a payment gateway. The plugin will show you a pop-up message with the same content. Just click on the OK button, and you are good to go.
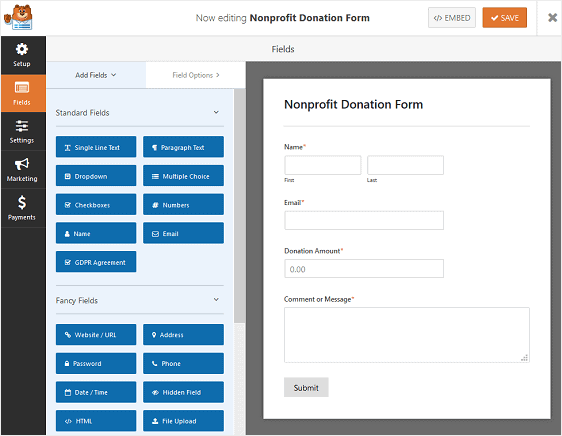
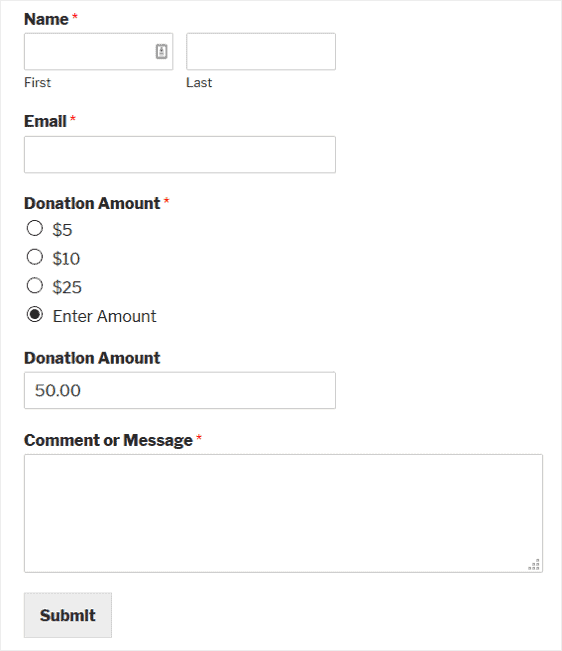
Usually, a donation form comes with fields like
- Name.
- Email.
- Donation Amount.
- Comment/ Message.
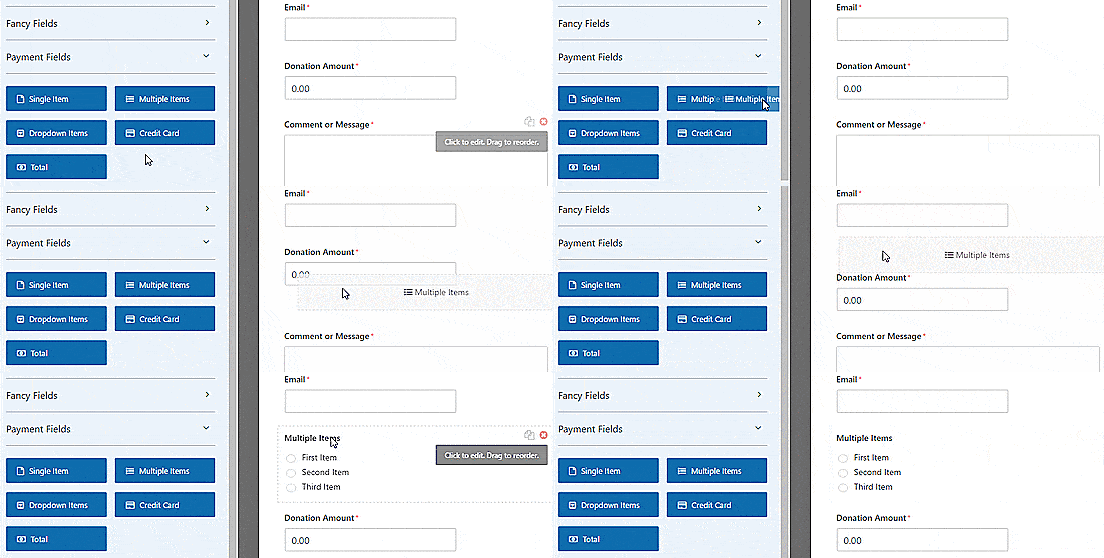
Well, you can always add new fields or remove fields from the form. On the left side, you can see all the available fields. The right side will show you a live preview of the form.
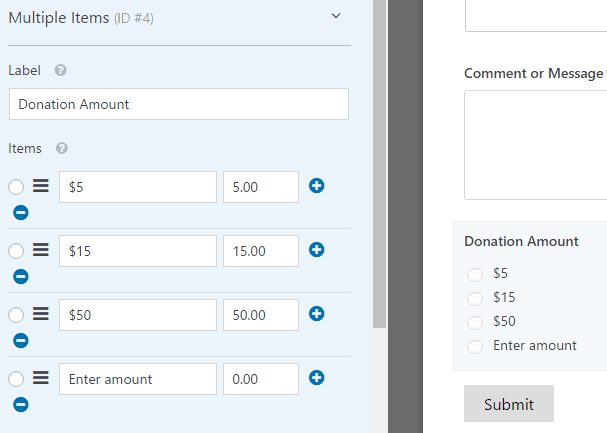
If you would like, you can remove the donation amount text field, add a multiple items field.
You can click on the field, edit the label and amounts.
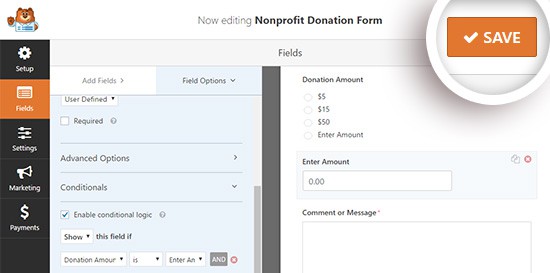
With the conditional logic feature, you will be able to make your forms even powerful. Save the form by clicking on the button above.
After configuring the form fields, we need to set up the payment gateways. As of August 2020, there are two payment gateways available.
On the left side, you can see the Payments tab. Click on it. You will see the available add-ons. And for this tutorial, we will be configuring the PayPal standards add-on from there.
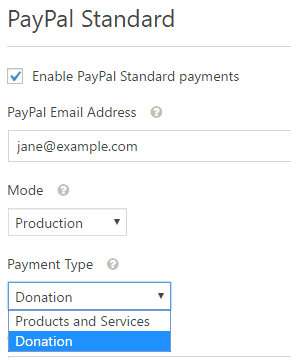
You will need to enable the PayPal standards payment, enter your PayPal email address there.
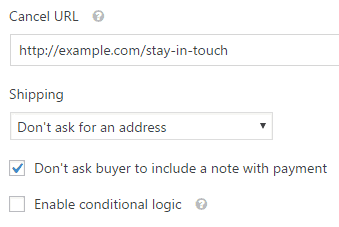
And also, make sure that you have using the Production Mode, not the Test Mode. Choose the payment type as Donations. If any of your donators clicked on the cancel button, you could redirect them to a custom URL.
Also, in most cases, you don’t need to ask for the donator’s address and a note. You can turn them off. Well, it is totally according to your use. Just like above, the conditional logic feature is available too.
After configuring these, you are ready to publish your form.
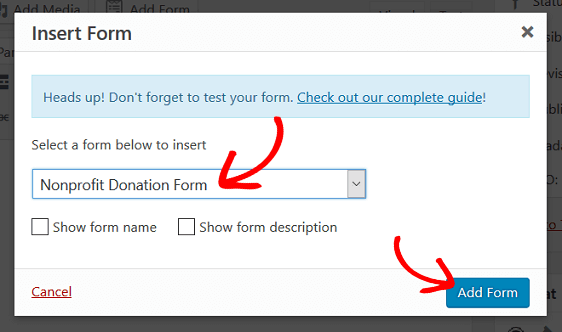
WPForms is optimized for WordPress 5.0 – Gutenberg. So, embedding a form in a post/ page or custom post type is pretty simple. All you need to do is use the WPForms block.
On the other hand, if you are still using the Classic Editor, paste the forms’ shortcode to the editor, save the changes.
You will see the live form on the website’s frontend.
Pretty simple, right?
So when someone sends you a payment through the form, it will reflect in your PayPal account instantly.
Get Started With WPForms
As you can see, creating forms with WPForms is pretty simple. And if you would like to purchase their premium version plugin now, feel free to do it from below.
We hope you have enjoyed the read and found how to create a donation form using WPForms. If you found this article helpful, please consider sharing this post with your friends and fellow bloggers on social media.
It will probably help someone to choose the best WordPress form builder plugin in the market.

Leave a Reply